More than Activated Checklists
The Activated Checklist feature in Way We Do is your trusty sidekick for managing and documenting your business processes. But its functionality goes above and beyond helping your team complete important tasks successfully and consistently. Timing is as critical an element of keeping your business thriving. We all know how easy it can be to find ourselves consumed by a busy day only to realise we’ve let a crucial task slip through the cracks.
Way We Do’s Schedules feature has you covered, by giving you the power to automate repetitive, but vital, tasks. Whether it’s for completing daily admin tasks, generating regular reports, or kicking off annual audits, with Schedules in charge, you can breathe a sigh of relief, knowing these jobs will never get away from you again.
A step-by-step guide to Creating Schedules
It’s quick and easy. Promise! Just follow the straight-forward instructions we’ve set out below.
(TL;DR We’ve also created a video tutorial on YouTube. You can share it with your team, save it in a playlist for later training, and review it whenever you need a refresher.)
Step 1
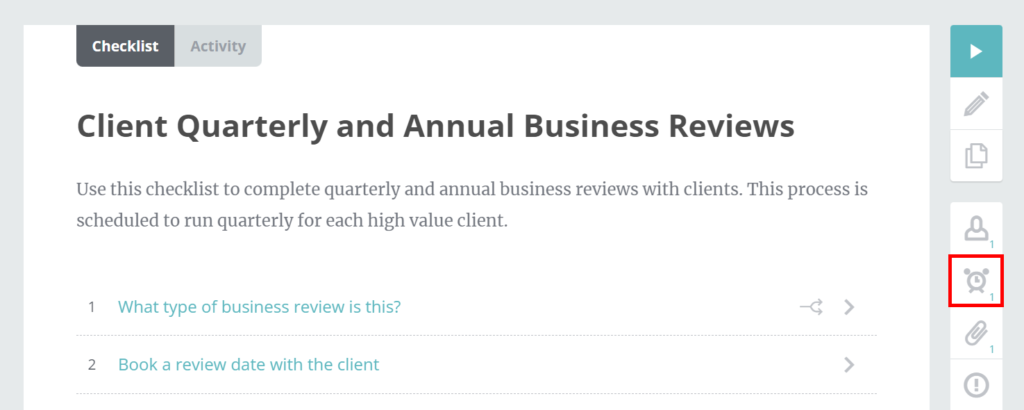
- Open the Activated Checklist you want to create a Schedule for.
- On the checklist, select the Alarm Clock icon from the right hand navigation. This will take you to the Schedules tab. If you’ve already created Schedules for this checklist, you’ll see them here.
Step 2
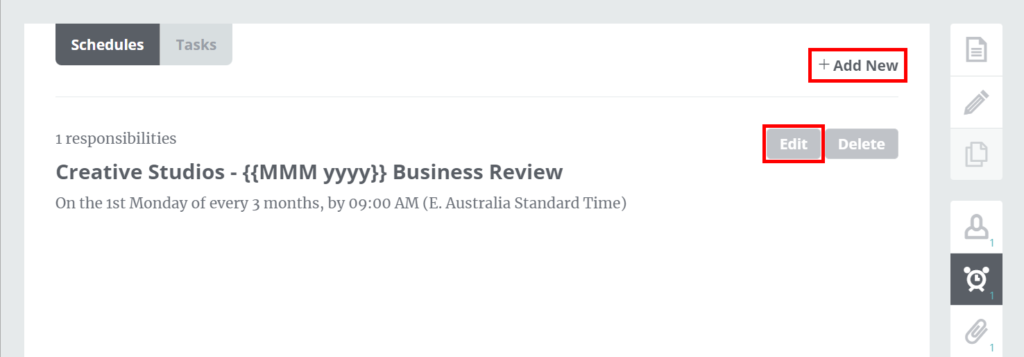
- Click Add New to create a new Schedule. Or to edit an existing Schedule, select the Schedule you want to change, then click Edit.
Step 3
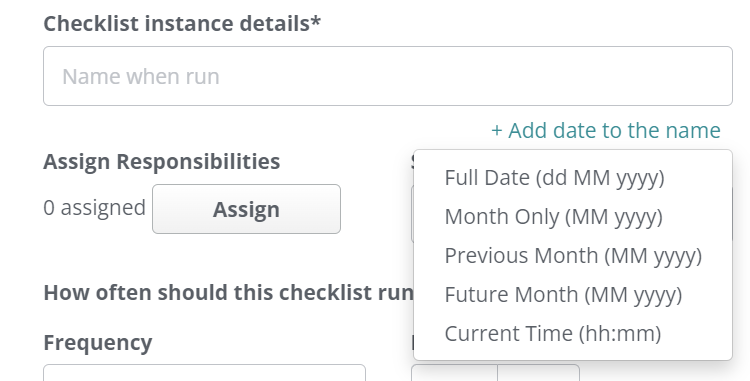
- In the Checklist instance details field, enter the name you’d like it to have each time an instance runs. This is a free text field; however, you can also use the Add date to the name link, which will automatically populate the specific date and time for each instance.
Step 4
- Click Assign Responsibilities to allocate who will work on this process when it runs. You can also choose to assign responsibility to a role or roles within Way We Do. In this case, every team member who performs that role will be invited to the scheduled instances.
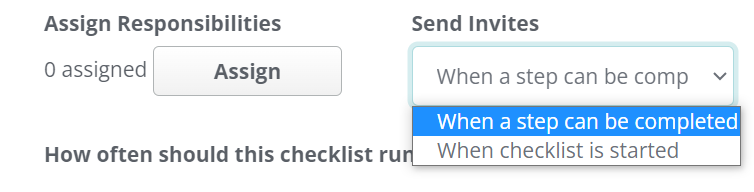
- Choose when to Send Invites. You can denote when a task should be started or completed by.
- When checklist is started – this option will immediately send invitations to all those assigned responsibilities.
- When a step can be completed – this is useful where you have different roles assigned to specific steps within the checklist, with invitations sent only to roles when it’s time for them to complete their components of the work.
Step 5
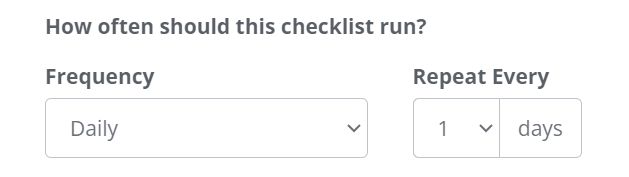
- Select the Frequency for when the checklist instance will run. The options are:
- daily, including weekends
- weekly, on pre-determined days
- weekly, on a day (or days) you choose
- monthly, either on a specific day of the month, or a certain day of a certain week
- yearly, on a specific day of the year.
- Select the Repeat Every option, e.g. every week, every 2 weeks, and so on.
Step 6
- Set the time you want the Schedule to Start Before.
- Click on the In Timezone dropdown to select what time zone you want the Schedule to run in. It will default to the time zone your account is in; however, this option gives you the flexibility to adjust for team members you may have in different locations.

Step 7
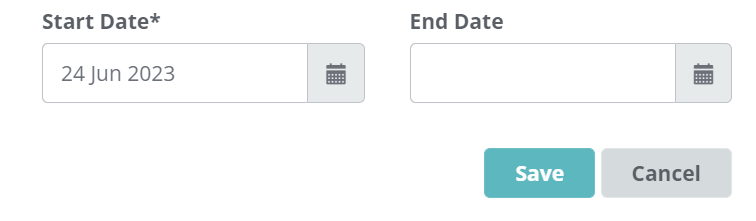
Nearly there! Now, you just need to Schedule when you want this routine to start, and when you want it to end.
- Click on the calendar next to Start Date to select when you want the Schedule to begin.
- Do the same to set an End Date if this is a Schedule you only want to run for a fixed period. If you leave it blank, the Schedule will keep running until you turn it off.
- Click Save.
You did it!
That’s one more thing (or hopefully more than one) you no longer need to worry about. You’ve now made a start on automating your Activated Checklists, and everyone on your team will have what they need to get the right tasks done at the right time.
And of course, if you’d like some extra help with this, or anything else in the Way We Do world, we’re always happy to hear from you. Just reach out through support@waywedo.com and we’ll be there.